Welcome!

My photo
Fort Worth, TX, United States
Furniture, accessories and all things design are our passion. We love to find treasures and give them a new life in hopes of bringing extra character to your home. Reusing and recycling is essential to being environmentally friendly and allows you to see beyond imperfections and capture the beauty in all things. Refreshingly Chic has a growing inventory of refinished furniture and accessories for sale. We also customize, refinish and retrofit pieces for clients and can work with existing pieces you already own.
Powered by Blogger.

Wednesday, August 29, 2012

HOW TO make Barbie prints

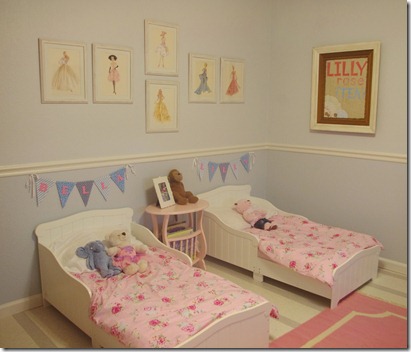
Now that we are wrapping up the girls’ bedroom (the big reveal will be posted soon!) I needed some art for the walls. 

I was recently at Hobby Lobby, again, gathering supplies for a project.  We were heading to the checkout line and I was feeling defeated with the finishing touches of their room.

I didn’t want something “manufactured” that you would find at a big box store.  I don’t like cheesy or bright colors, yet it needs to be youthful and fun.  And our budget is also slim to none … as usual.

This is a tall order.

Then I saw this!

barbie-2012-mini-wall-calendar-2784

It was one of those “angels are singing” moments.

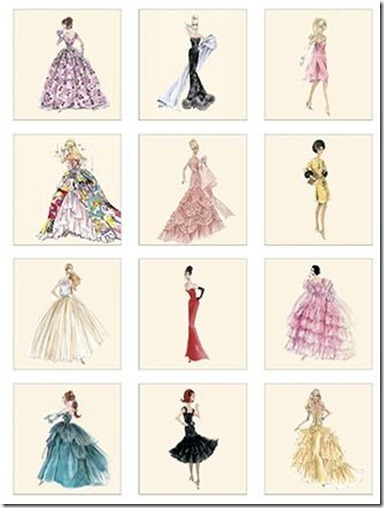
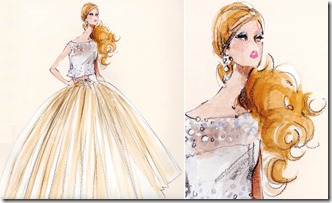
Barbie + fashion + perfect colors + beautiful images = happy me!

barbie images 2011

calendar-barbie-robert-best-collage

This is a calendar by Robert Best, former Project Runway contest (even bigger plus!) and it’s just fabulous!

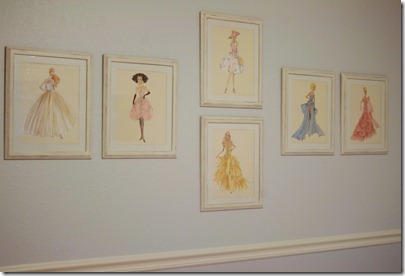
I bought the $14.99 calendar (with a 40% off coupon!) and Bella and I went through all the images and picked our favorites to frame in their bedroom.

Next I needed a way to display the images.  Originally I thought we could use reclaimed wood and make frames or boards to hang the prints.  Then I realized our "To Do List” is overwhelming and buying ready made frames (with glass!) would simplify our lives.

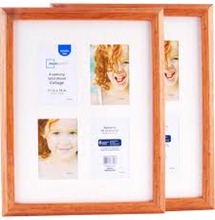
So I made a quick trip to Walmart and found their 11x14 Mainstays Oak frames with multiple opening mats.  They were less than $5 each … which was perfect because we needed six.

images

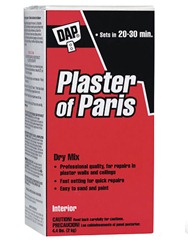
They weren’t very easy on the eyes so I took them home, removed the glass & mats and mixed up some custom white chalk paint.  I use approx. one part Plaster of Paris mixed with one part hot water.  Then I add approx. 3 parts latex paint.  This is perfect for this project – no sanding or priming needed!

plasterofparis

I painted two coats of paint on the frames and let them dry.  Then used my sanding block to distress the edges a bit.  I applied a coat of wax on my frames and now they’re done!

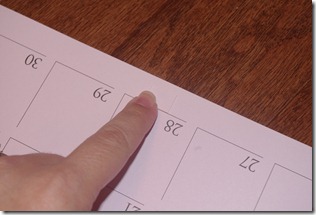
Using an Xacto knife I cut apart the calendar at the folded seam.  We measured and cut all mats to frame the images selected and assembled.

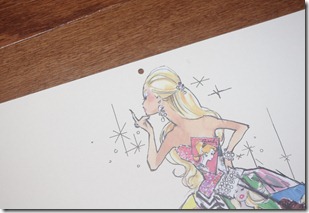
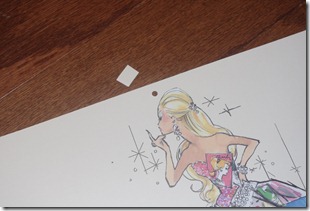
Since this is made from a calendar you have to “hide” the holes at the top of each image.

IMGP0954

I did this by cutting small squares of the background color from a page I didn’t use and taped it to the back of the image.

IMGP0956

IMGP0957

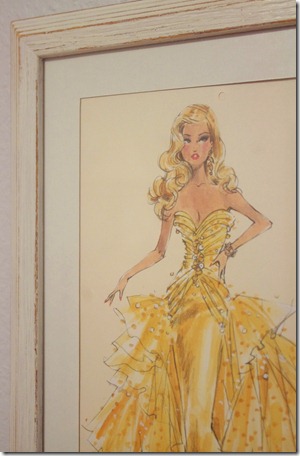
Once the images are framed you can’t see the hole unless you look closely.

IMGP0869

The set of six Barbie images are perfect for the girls’ bedroom! 

Bella keeps telling me they are “beautiful” and “amazing”.

IMGP0945 - Copy

IMGP0860

Remember this concept can be applied to any series of images you find & adore!  Good luck with your project!

chic party: Tyler’s SURPRISE 30th!

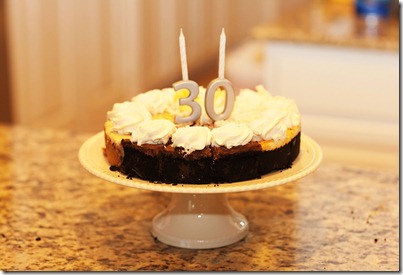
Tyler, recently referred to as “Mr. Refreshingly Chic”, turned 30 earlier this month!

He is such an amazing husband, father and truly my best friend.  I wanted to celebrate him & wrap him in love on his special day.

So I planned a surprise party!

IMGP9864

I made simple, classic invitations which set the tone for the party.

IMG_5245

We all enjoyed his favorite foods for dinner.

On the menu … Chick fil A nuggets, sweet potato fries, cheesecake filled strawberries, stuffed mushrooms, chocolate pudding, peanut butter on apple slices and a few other goodies that were extra yummy.

IMG_5381

I used mason jars for drinks and added labels so everyone could keep track of their drink for the night.  Practical and cute!

IMG_5300

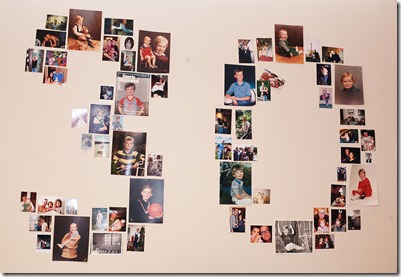
I decorated with photos of Tyler over the past 3 decades.

IMG_5370

Using many pictures in various sizes I was able to make a big “3-0” over our favor table.

IMG_5262

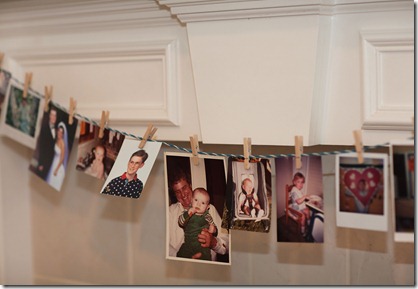
Using clothes line (purchased for $1) and small clothes pins I was able to display photos on the mantel and over the drinks.

IMG_5382

IMG_5359

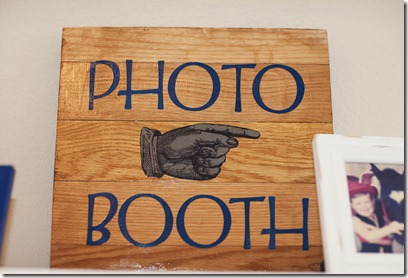
The mantel also displayed the photo booth sign I made. 

We loved having Jessica Lauren Photography at the party to capture so many priceless memories. 

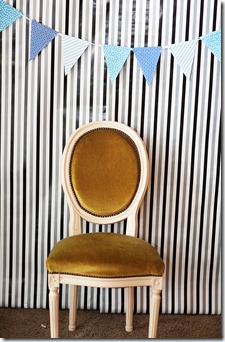
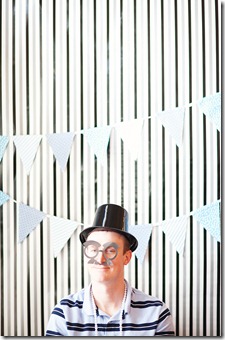
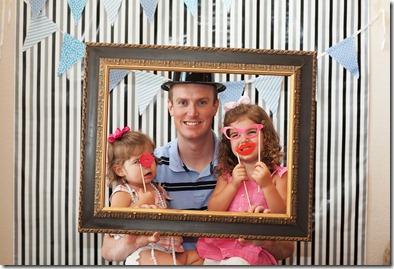
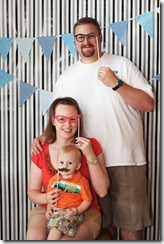
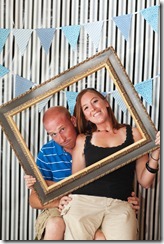
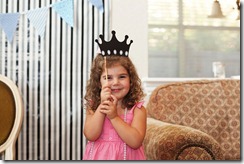
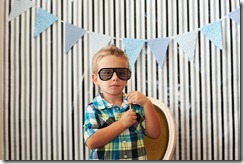
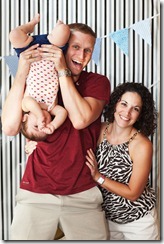
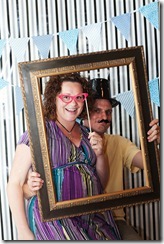
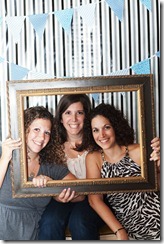
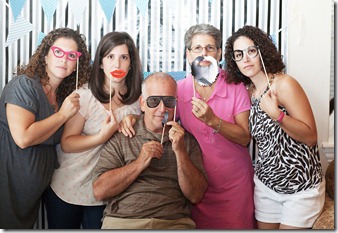
She also snapped fun photos of all our guests in the photo booth I made using wallpaper and fabric banners.

IMG_5265

IMG_5396  IMG_5445

Pulling off a surprise party was tough for me.  I can’t tell a lie or keep a secret!

Luckily I had help from some wonderful family and friends. 

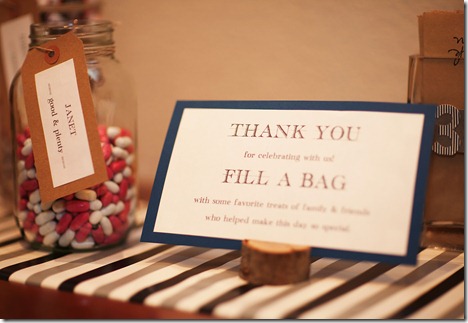
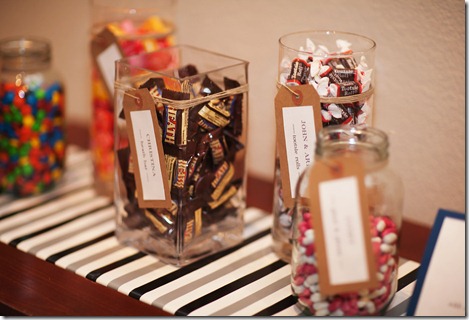
I made a candy bar to thank everyone for celebrating Tyler’s birthday with us.  Each person who helped me with the party (my mom, sisters, mother in law and sweet friend) told me their favorite candy and I filled  jar with their treat of choice.

IMG_5258IMG_5259

It was a perfect party, for the perfect guy.

IMG_5272

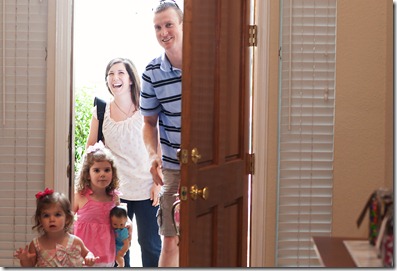
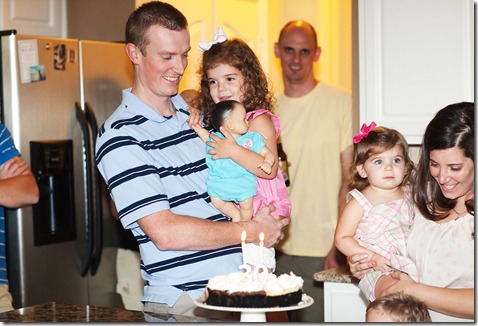
He was (somewhat) surprised and had such a great night with our closest family and friends!
IMG_5434

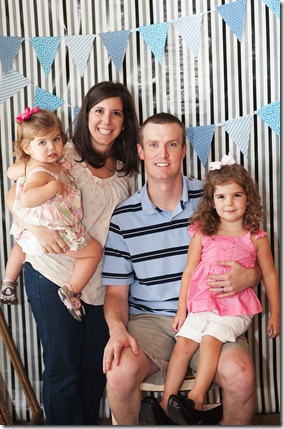
Our family of four!

IMG_5444

IMG_5404 IMG_5460 IMG_5480IMG_5488 IMG_5496IMG_5540 IMG_5551 IMG_5562IMG_5565 IMG_5571

Happy 30th birthday, Tyler!

IMG_5601IMG_5588